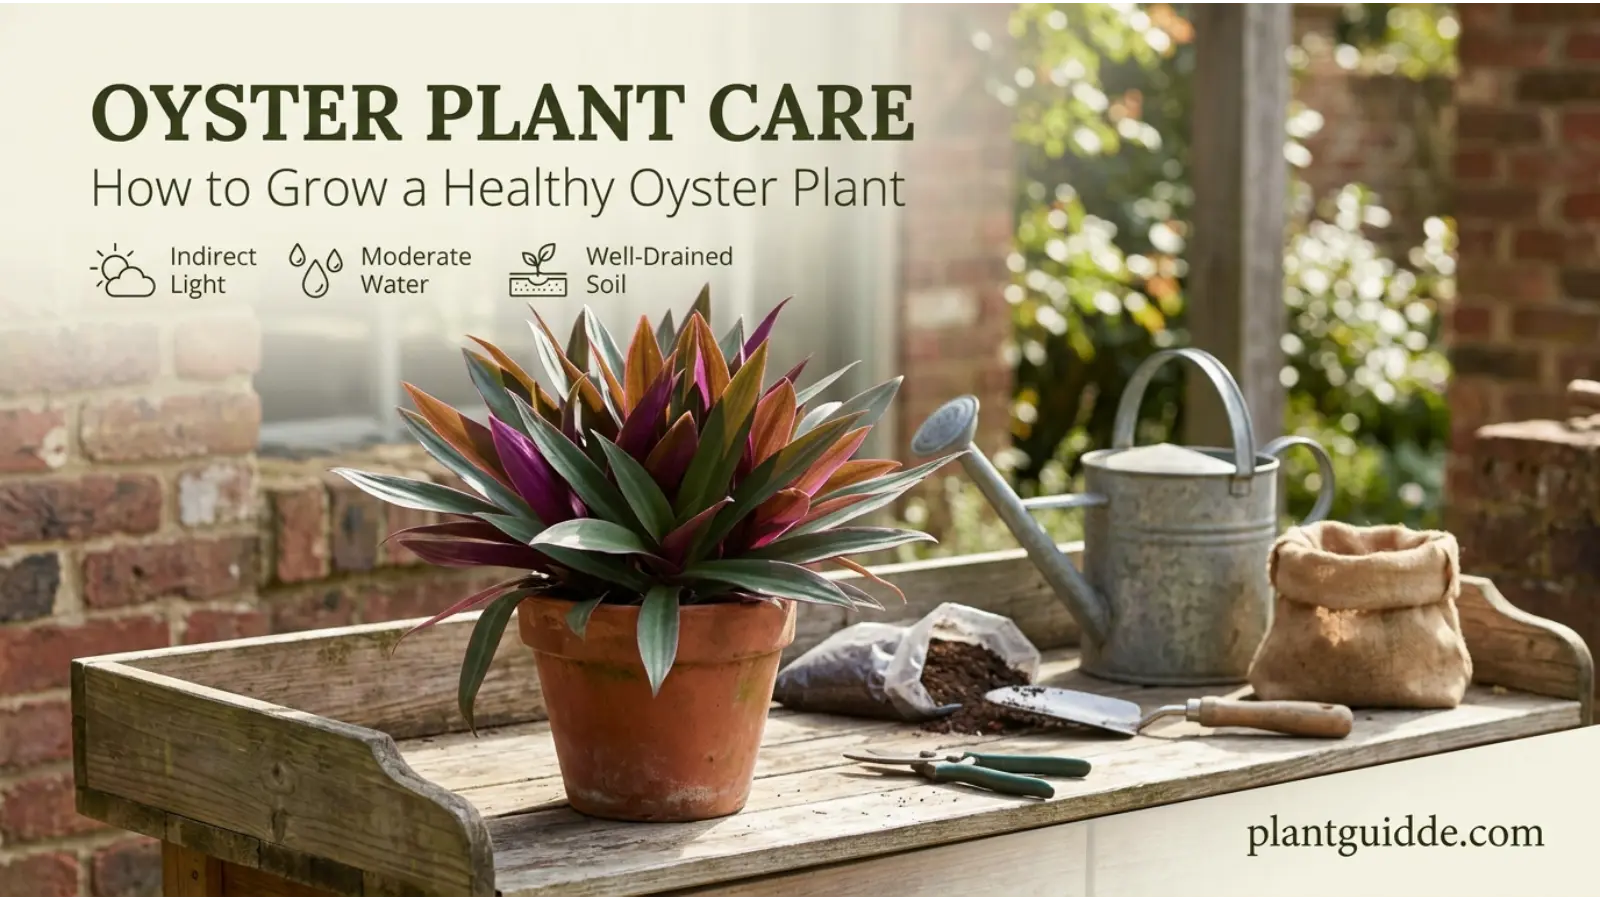
Oyster plant care are popular for their striking sword-shaped leaves, compact growth, and relatively forgiving nature.
Their green leaves with purple undersides can add strong color to indoor spaces, patios, containers, and warm-climate gardens without requiring the intensive care of many tropical plants.
The biggest problems with oyster plant care usually come from treating it like a plant that needs frequent watering.
Constantly damp soil, poor drainage, insufficient light, and harsh direct sun can all lead to unattractive growth or damaged leaves. Once you understand how the plant responds to light, moisture, and temperature, maintaining it becomes much simpler.
Quick Answer
Oyster plant care is easiest when you provide bright, indirect to filtered light, well-draining soil, moderate watering, warmth, and good airflow. Tradescantia spathacea tolerates some drought but performs poorly in constantly wet soil.
Water when the upper portion of the soil has dried, keep it warm, and protect it from harsh afternoon sun to maintain compact growth and colorful purple-backed leaves.
What Is an Oyster Plant?
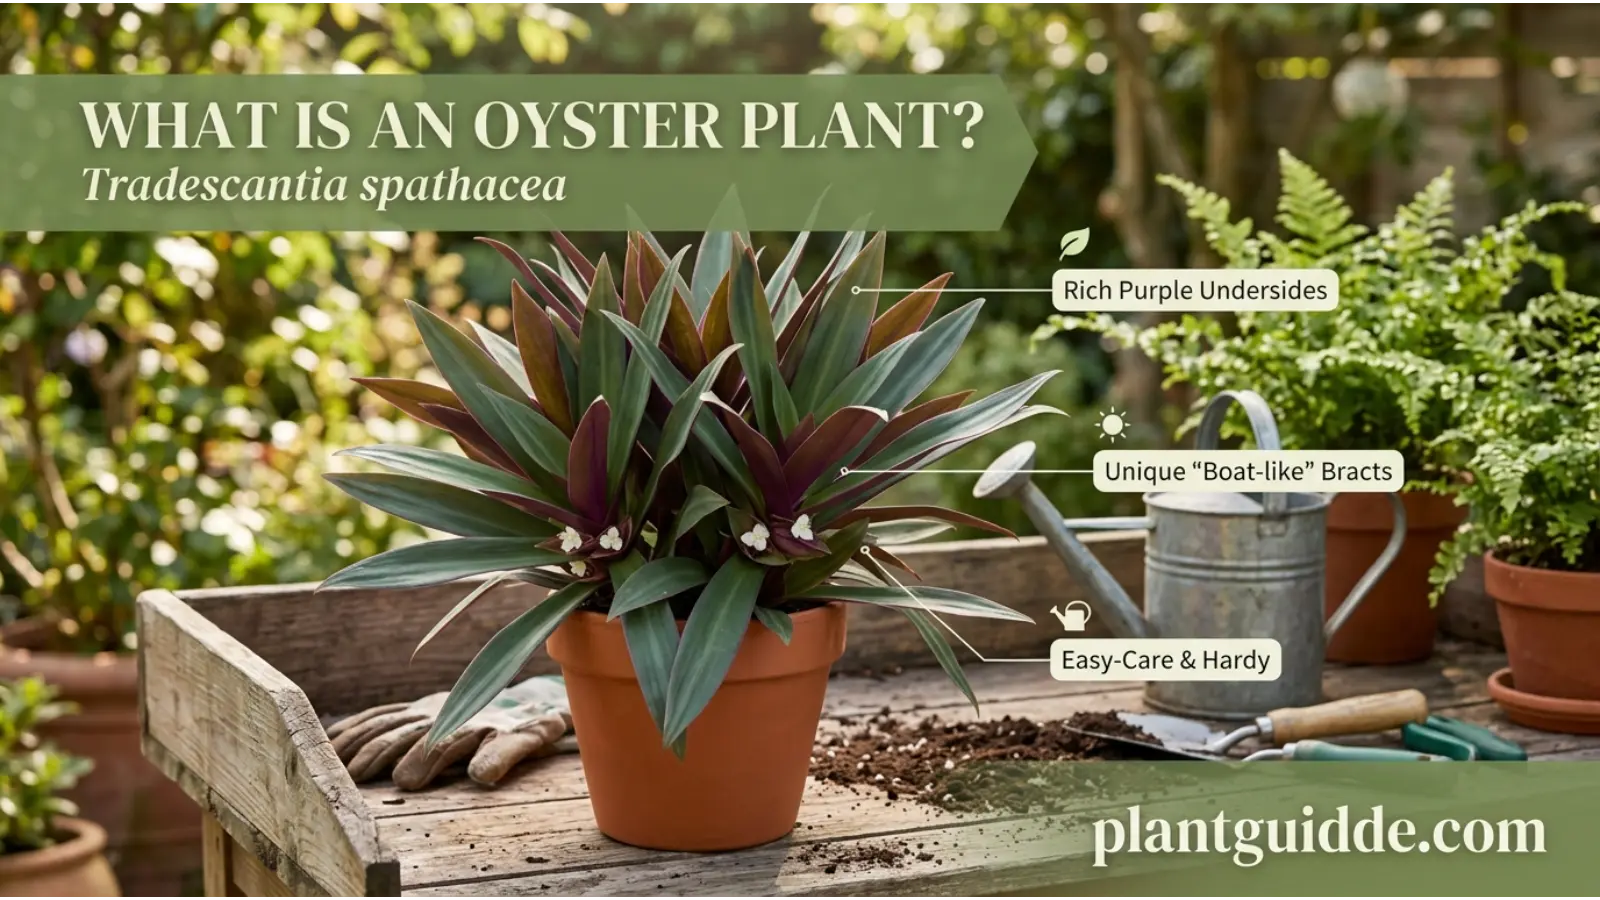
The oyster plant, botanically known as Tradescantia spathacea, is a tropical perennial grown primarily for its attractive foliage. It has also been known by the botanical name Rhoeo spathacea and is commonly called Moses-in-the-cradle or boat lily.
The plant forms a dense clump of upright, lance-shaped leaves. Depending on the variety and growing conditions, the upper surfaces may be green, variegated, or striped, while the undersides often show shades of purple, burgundy, or reddish-purple.
Small flowers can develop in distinctive boat-shaped bracts at the base of the leaves. Although the flowers are not usually the main reason people grow oyster plants, they add another interesting feature to an already colorful plant.
For indoor growing, oyster plants are particularly useful where you want a compact foliage plant rather than a climbing or trailing houseplant.
Oyster Plant Care Requirements at a Glance
| Care factor | What an oyster plant prefers |
|---|---|
| Light | Bright indirect or filtered light |
| Direct sun | Gentle morning sun is usually safer than intense afternoon sun |
| Water | Moderate; allow the soil to partially dry |
| Soil | Loose, fertile, well-draining mix |
| Humidity | Average household humidity is generally adequate |
| Temperature | Warm conditions; protect from cold |
| Fertilizer | Light, balanced feeding during active growth |
| Pruning | Remove damaged leaves and overcrowded growth |
| Repotting | When roots become crowded or drainage declines |
| Propagation | Division and offsets are practical methods |
| Main watering risk | Overwatering and poorly drained soil |
How Much Light Does an Oyster Plant Need?
Light is one of the most important parts of oyster plant care because it affects growth, leaf color, and the overall shape of the plant.
The ideal location receives bright, filtered or indirect light for several hours a day. A bright window covered by a sheer curtain can work well indoors. Outdoors, the plant generally performs well in a location with filtered light or partial shade.
Some gentle direct sunlight, particularly earlier in the day, can be beneficial. However, strong afternoon sun through a window or in a hot outdoor location may scorch the leaves.
Signs of too little light
An oyster plant receiving insufficient light may:
- Produce slower or weaker growth
- Become less compact
- Develop less intense leaf coloration
- Stretch toward the nearest light source
- Produce smaller or less vigorous new leaves
If the plant is healthy but gradually losing its strong purple coloration, evaluate the lighting before immediately changing its watering or fertilizer routine.
Signs of excessive sunlight
Too much intense sun can cause:
- Brown or bleached patches
- Crispy leaf edges
- Faded foliage
- Scorched areas on exposed leaves
If this happens, move the plant farther from the harshest sunlight or provide filtered shade.
Practical tip: If your oyster plant is indoors, a bright east- or west-facing location can work well, but watch how intense the direct sunlight becomes. A sheer curtain can make a major difference.
How Often Should You Water an Oyster Plant?
There is no reliable watering schedule that works for every oyster plant. The right frequency depends on light, temperature, pot size, soil composition, humidity, and whether the plant is growing indoors or outdoors.
Instead of watering on a fixed calendar, check the soil.
Allow the upper portion of the potting mix to dry before watering again. When it is time to water, soak the soil thoroughly enough that excess water drains from the bottom of the container.
Then empty any water collected in a saucer or decorative outer pot.
The goal is moisture followed by a period of partial drying, rather than soil that remains wet continuously.
Why overwatering causes problems
Oyster plants can tolerate periods of somewhat dry soil, but their roots are much more vulnerable when the soil stays saturated.
Constantly wet conditions reduce air around the roots and can contribute to root deterioration. A plant suffering from prolonged excess moisture may develop:
- Yellowing leaves
- Soft or collapsing stems
- Darkened roots
- Drooping despite wet soil
- Slow growth
- An unpleasant smell from the potting mix
One of the most common mistakes is responding to drooping by adding more water. Always check the soil first.
If the soil is already wet, additional water is unlikely to solve the problem.
Best Soil for Oyster Plant Care
Oyster plants need soil that holds enough moisture for healthy growth but drains excess water quickly.
A good container mix can be made from:
- Quality all-purpose potting mix
- Perlite or pumice for additional drainage
- A small amount of compost or another organic component
The exact recipe is less important than the final structure. When you squeeze slightly moist soil, it should not behave like heavy mud or remain saturated for days.
A container must also have drainage holes. Even an excellent potting mix can cause problems if excess water has nowhere to escape.
Choosing the right pot
Avoid moving a small oyster plant into an excessively large container. A very large pot holds more unused soil around the roots, which can remain wet for a long time after watering.
Choose a container that is only moderately larger than the current root system and has adequate drainage.
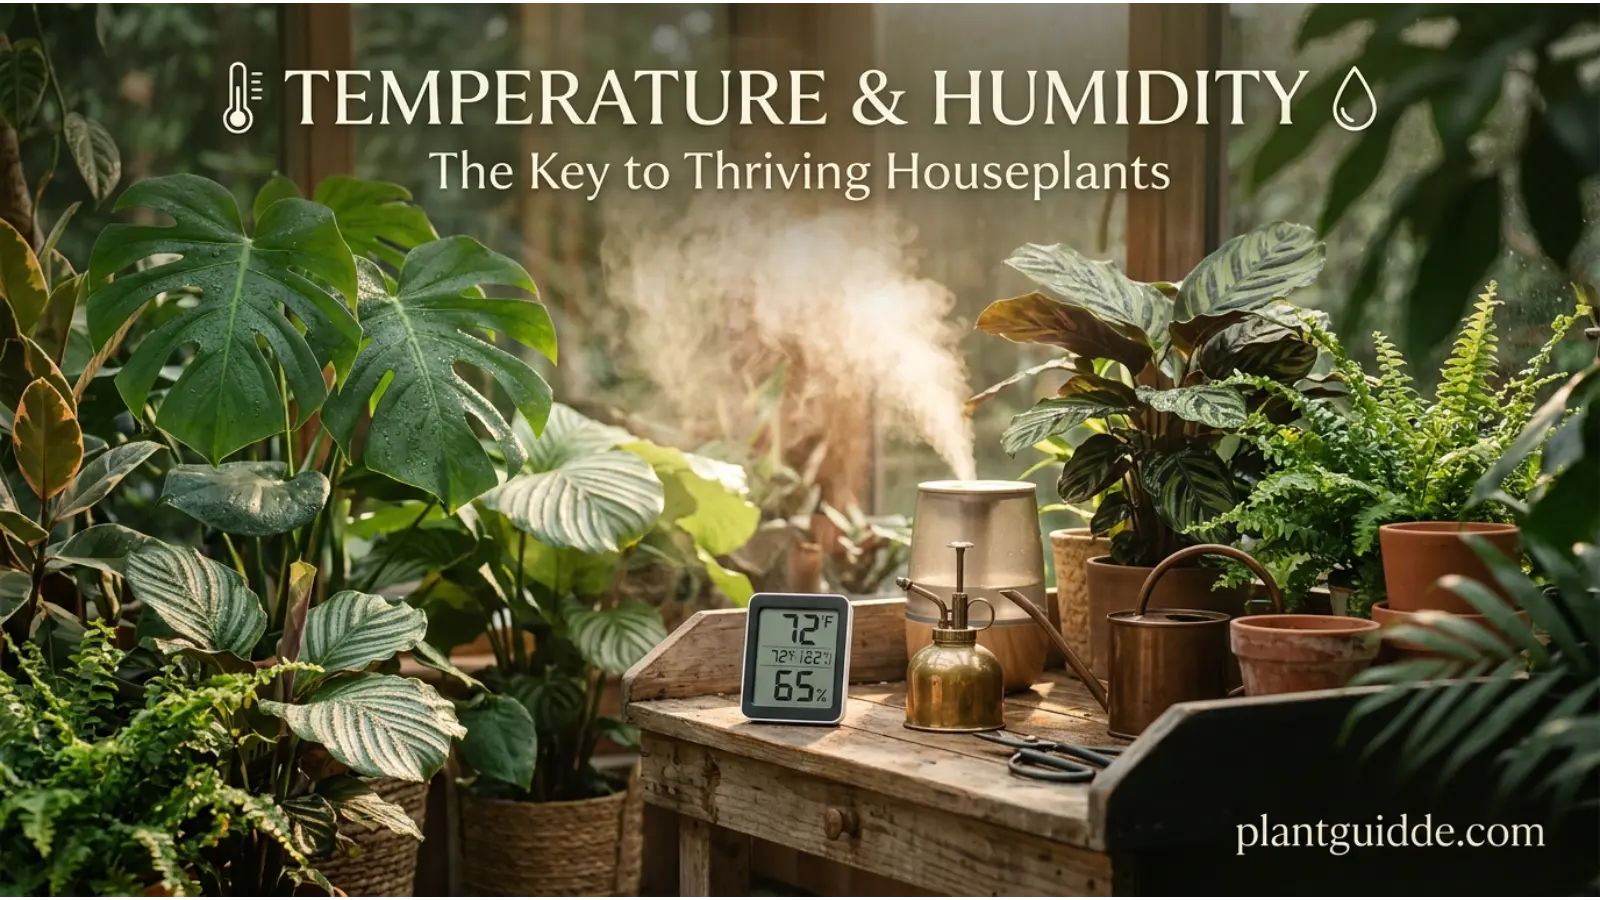
Temperature and Humidity
Because oyster plants are tropical in origin, they prefer warm growing conditions.
Keep them away from cold drafts, freezing temperatures, and sudden temperature drops. Indoor plants usually do well in normal warm household conditions as long as they are not placed next to a cold window or strong heating or cooling vent.
Average indoor humidity is often sufficient, so you do not necessarily need a humidifier.
If the surrounding air is extremely dry, however, the plant may benefit from slightly higher humidity and protection from hot, drying airflow.
Good airflow is important as well. High humidity combined with stagnant air and wet foliage can create conditions favorable to fungal and bacterial problems.
How to Fertilize an Oyster Plant
Oyster plants do not generally require heavy feeding.
During active growth, a balanced liquid houseplant fertilizer diluted according to the product directions can be applied periodically. A conservative feeding approach is usually better than repeatedly applying strong fertilizer.
Excess fertilizer can accumulate in the soil and damage roots or produce brown leaf margins.
If growth is already healthy and the foliage is strong, there is little reason to dramatically increase fertilizer.
When fertilizer may help
Consider feeding when:
- Growth is active but unusually slow
- Leaves are smaller than expected
- The plant has been growing in the same depleted potting mix for a long time
- Light, watering, and drainage are already appropriate
Before assuming a nutrient deficiency, check the basics. Poor light or damaged roots can also cause weak growth, and fertilizer will not correct those problems.
How to Prune an Oyster Plant
Pruning is usually simple.
Remove leaves that are completely dead, badly damaged, or diseased using clean, sharp scissors. Cut close to the base without unnecessarily damaging healthy growth.
You can also remove older leaves as they naturally decline.
If the plant becomes crowded, pruning can improve its appearance, but division is often a better solution when the clump has produced multiple plants.
Avoid removing large amounts of healthy foliage simply to make the plant look smaller. Leaves are responsible for producing energy for continued growth.
How to Propagate an Oyster Plant
One of the easiest ways to multiply an established oyster plant is through division or offsets.
Propagation by division
- Remove the mature plant carefully from its container.
- Inspect the root system and identify naturally separated clumps or offsets.
- Gently separate sections with their own roots where possible.
- Place each division into a well-draining potting mix.
- Water lightly and keep the new plants in bright, filtered light.
- Maintain warm conditions while they establish.
This method is generally more dependable than trying to root individual leaves.
Oyster plants can also produce new growth around the base of a mature plant, making an established clump especially useful for propagation.
When Should You Repot an Oyster Plant?
An oyster plant does not need frequent repotting.
Consider repotting when:
- Roots are densely circling the container
- Roots are emerging from drainage holes
- Water runs through the pot unusually quickly
- Growth has slowed despite suitable conditions
- The potting mix has broken down and drains poorly
- The plant repeatedly dries out much faster than expected
Move it into a container only slightly larger than the previous one.
After repotting, avoid immediately compensating with excessive watering or fertilizer. Give the roots time to settle into their new environment.
Common Oyster Plant Problems and What They Mean
Oyster plants often communicate problems through changes in their foliage. Looking at the symptoms alongside the soil and growing conditions is more useful than treating every problem as a disease.
Yellow leaves
Yellow leaves can have several causes, but consistently wet soil is one of the first things to investigate.
Check:
- How wet the soil remains between waterings
- Whether the container has drainage holes
- Whether the pot is oversized
- Whether the plant is receiving enough light
- Whether older leaves are simply reaching the end of their natural lifespan
If several leaves are yellow while the soil stays wet for long periods, improve drainage and adjust watering before adding fertilizer.
Brown and crispy leaf tips
Brown tips may result from several environmental stresses, including:
- Very dry conditions
- Irregular watering
- Excessive fertilizer salts
- Strong direct sunlight
- Root problems that prevent normal water uptake
Look at the whole growing environment rather than assuming humidity is always the answer.
Drooping leaves
Drooping does not automatically mean the plant needs water.
Check the soil before watering.
If the soil is dry, watering may correct temporary drought stress. If the soil is already wet, continued watering could make the underlying problem worse.
Purple color becoming less noticeable
Reduced color may be associated with insufficient light, particularly in plants that normally display strong purple or burgundy foliage.
Gradually move the plant toward a brighter location rather than suddenly exposing a low-light plant to intense midday sun.
Soft or mushy stems
Soft stems combined with persistently wet soil are a serious warning sign.
Remove the plant from the container and inspect the roots if you suspect root damage. Healthy roots should generally be firm rather than soft and deteriorating.
If substantial root damage has occurred, remove compromised tissue with clean tools and replant surviving healthy sections in fresh, well-draining soil.
Pests That Can Affect Oyster Plants
Oyster plants can occasionally attract common sap-feeding houseplant pests such as:
- Mealybugs
- Spider mites
- Scale insects
- Aphids
Inspect the undersides of leaves, leaf bases, and crowded areas of the plant when bringing a new plant home or when growth suddenly becomes weak.
Early detection makes control much easier.
If you find a small infestation, physically removing visible pests and isolating the affected plant can help prevent the problem from spreading. More persistent infestations may require an appropriate insecticidal treatment used according to its label.
Avoid repeatedly applying unnecessary pesticides when there is no evidence of pests.
Indoor vs. Outdoor Oyster Plant Care
Oyster plants can be grown successfully indoors or outdoors in suitably warm climates, but the care routine changes somewhat.
| Condition | Indoor | Outdoor |
|---|---|---|
| Light | Bright indirect or filtered | Partial shade or filtered light |
| Water loss | Usually slower | Often faster, especially in heat |
| Temperature | Easier to control | Protect from cold |
| Humidity | Usually moderate | Depends on climate |
| Sun exposure | Watch intense window sun | Avoid harsh afternoon exposure |
| Pests | Inspect regularly | Monitor foliage and surrounding plants |
Outdoor plants may need more frequent watering during hot, dry periods, while indoor plants can remain wet much longer because of lower evaporation.
This is another reason a fixed watering calendar is unreliable.
Common Oyster Plant Care Mistakes
Watering because the calendar says so
The plant does not know whether it is Tuesday or Saturday. Soil moisture matters more than the day of the week.
Using a pot without drainage
Decorative containers can be used as outer covers, but the plant should ideally remain in a container that allows excess water to escape.
Giving a low-light plant intense direct sun
A plant that has adapted to filtered light can suffer leaf scorch when suddenly placed in strong afternoon sunlight.
Assuming drooping always means thirst
Check the soil before watering. Drooping in wet soil can indicate root stress rather than dehydration.
Overfertilizing
More fertilizer does not automatically mean more growth. Healthy roots, appropriate light, and suitable moisture come first.
Ignoring airflow
A warm, humid environment with stagnant air and constantly wet leaves can create unnecessary disease pressure. Give the plant reasonable spacing and avoid keeping foliage wet for prolonged periods.
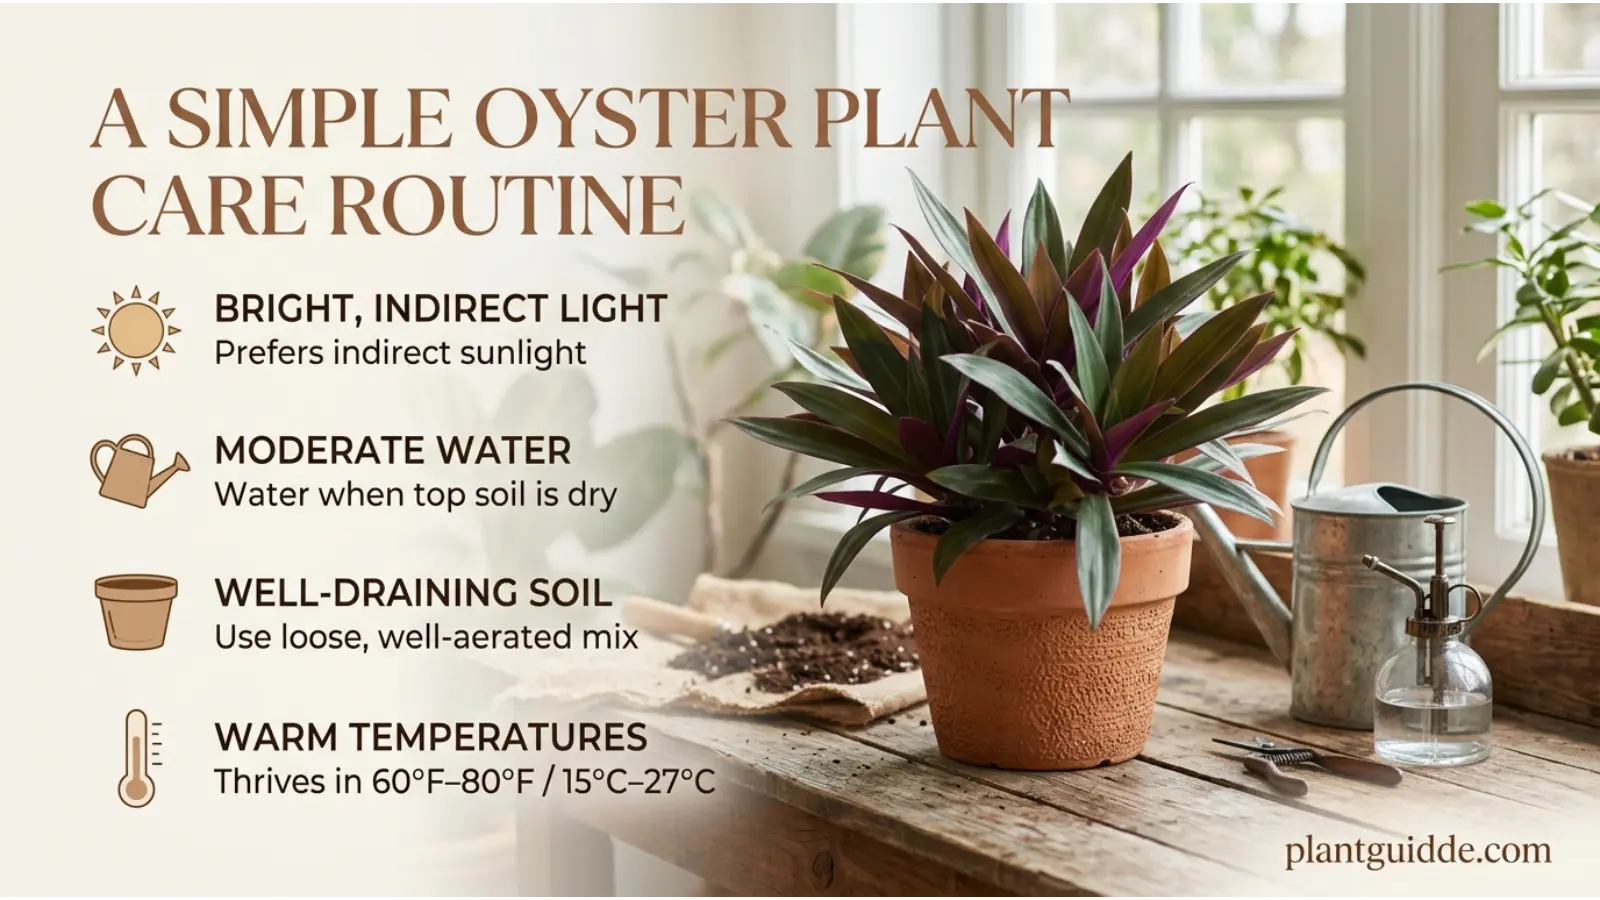
A Simple Oyster Plant Care Routine
For beginners, the following routine keeps things practical:
Once or twice a week: Check the soil rather than automatically watering.
When the upper soil has dried: Water thoroughly and allow excess water to drain.
Every few days: Look at the leaves for pests, sudden discoloration, or damaged tissue.
During active growth: Provide appropriate light and occasional balanced feeding if needed.
Every few months: Check whether the plant has become overcrowded or whether the potting mix is compacted.
Whenever conditions change: Reassess watering. A plant that needs water every week in summer may need much less during cooler, darker periods.
FAQs:
How much sunlight does an oyster plant need?
Oyster plants prefer bright, filtered or indirect light. They can tolerate some gentle direct morning sun, but strong afternoon sunlight may scorch the foliage. If the plant becomes stretched or loses its characteristic color, move it gradually to a brighter location.
How often should I water an oyster plant?
Water when the upper portion of the soil has dried rather than following a strict schedule. Water thoroughly until excess moisture drains from the container, then allow the soil to partially dry again before watering.
Why are my oyster plant leaves turning yellow?
Overwatering and poorly draining soil are common causes, especially when several leaves turn yellow while the soil remains consistently wet. Insufficient light, root problems, and naturally aging leaves can also contribute.
Can oyster plants grow indoors?
Yes. Oyster plants can make attractive indoor foliage plants when provided with bright filtered light, a well-draining potting mix, appropriate watering, and warm conditions. Place them where they receive enough light without intense, scorching sunlight.
Why is my oyster plant losing its purple color?
Insufficient light can reduce the intensity of foliage coloration. Move the plant gradually toward brighter filtered light while avoiding sudden exposure to strong midday or afternoon sun.
Final Thoughts
Successful oyster plant care is less about maintaining a complicated routine and more about getting a few fundamentals right. Give the plant bright filtered light, a loose and well-draining soil mix, warm conditions, and water only when the soil has had time to partially dry.
If the leaves begin changing color, curling, drooping, or developing brown areas, investigate the growing conditions before reaching for fertilizer or pesticides. In many cases, the plant is simply responding to too much moisture, insufficient light, harsh sun, or another environmental imbalance.
For the healthiest growth, focus first on light, drainage, and watering habits. Once those three factors are working together, oyster plants are relatively straightforward to maintain and can provide attractive green-and-purple foliage for years.

Asad Mumtaz is a dedicated plant enthusiast and gardening writer with a passion for helping people care for their plants successfully. He specializes in plant care guides, indoor gardening, and practical growing tips for all skill levels. His content focuses on making gardening simple, enjoyable, and rewarding. Through his work, Asad shares reliable advice to help readers create thriving green spaces.