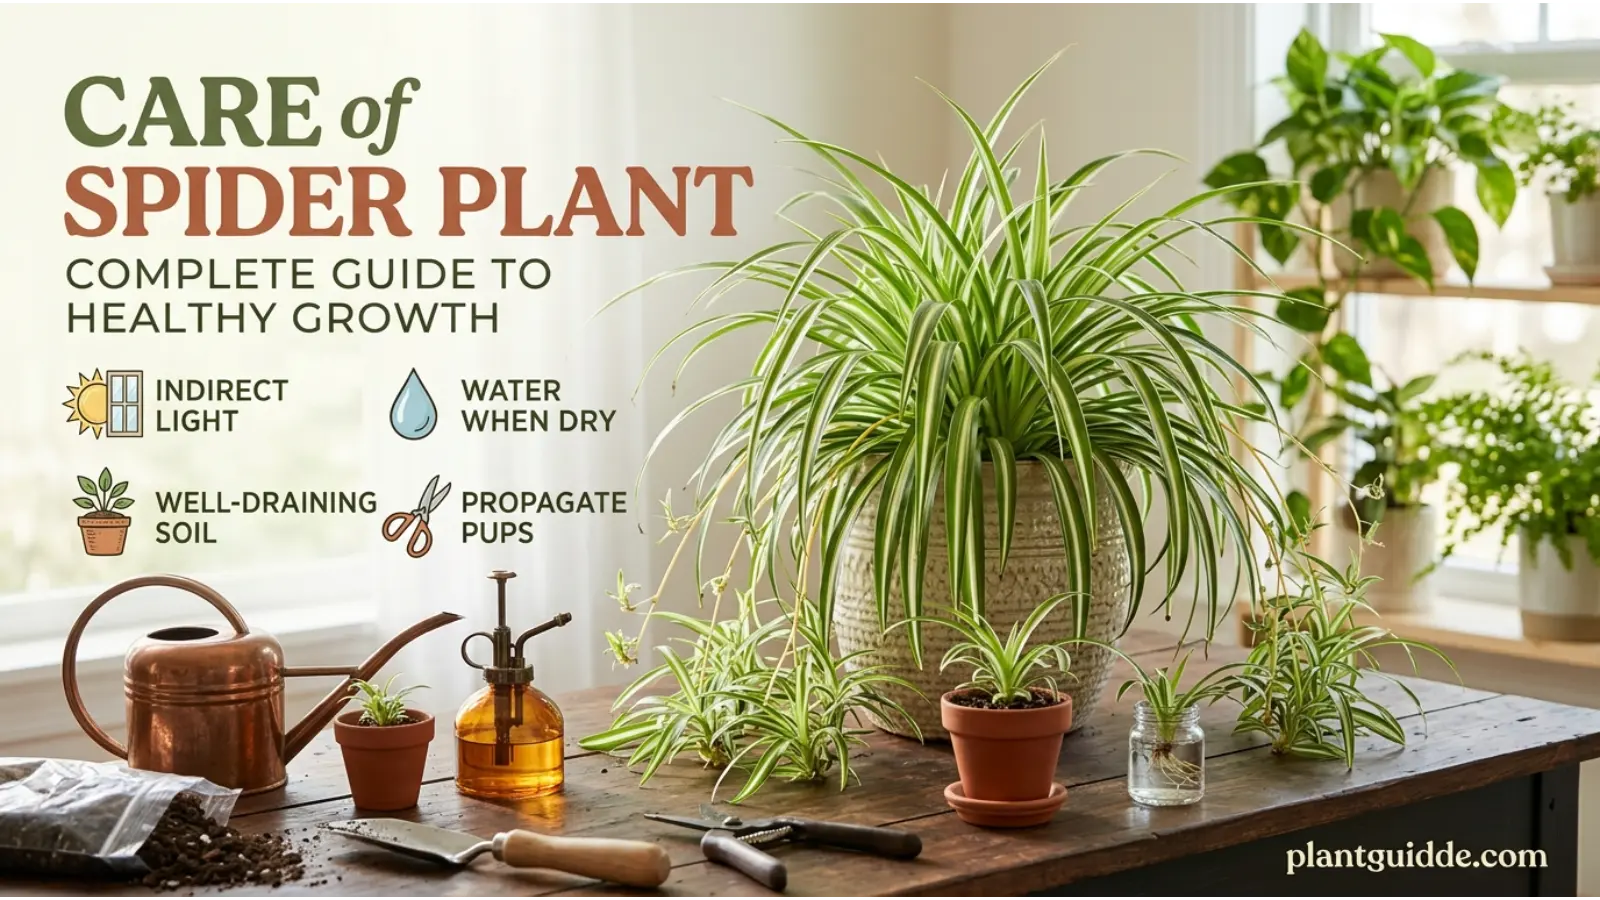
Care of spider plant is a popular houseplant known for its long, arching leaves, easygoing nature, and ability to produce small plantlets on trailing stems. Its graceful foliage looks attractive in hanging baskets, on shelves, and in bright indoor spaces. Because it adapts to a range of household conditions, it is often recommended to beginners.
However, successful care of spider plant varieties involves more than occasional watering. Brown leaf tips, yellow foliage, limp leaves, and a lack of baby plants can indicate problems with water quality, light, nutrition, or root health.
Understanding what your spider plant needs helps you maintain attractive foliage without overwatering or unnecessary maintenance. This guide covers the ideal growing conditions, watering routine, soil, propagation, repotting, and practical solutions to common spider plant problems.
Quick Answer
The care of spider plant (Chlorophytum comosum) involves providing bright, indirect light, well-draining soil, and regular watering when the top inch or two of soil feels dry.
Keep the plant in moderate indoor temperatures, fertilize lightly during active growth, and trim brown leaf tips when needed. With suitable conditions, spider plants produce arching green foliage and baby plants called spiderettes.
Understanding the Spider Plant
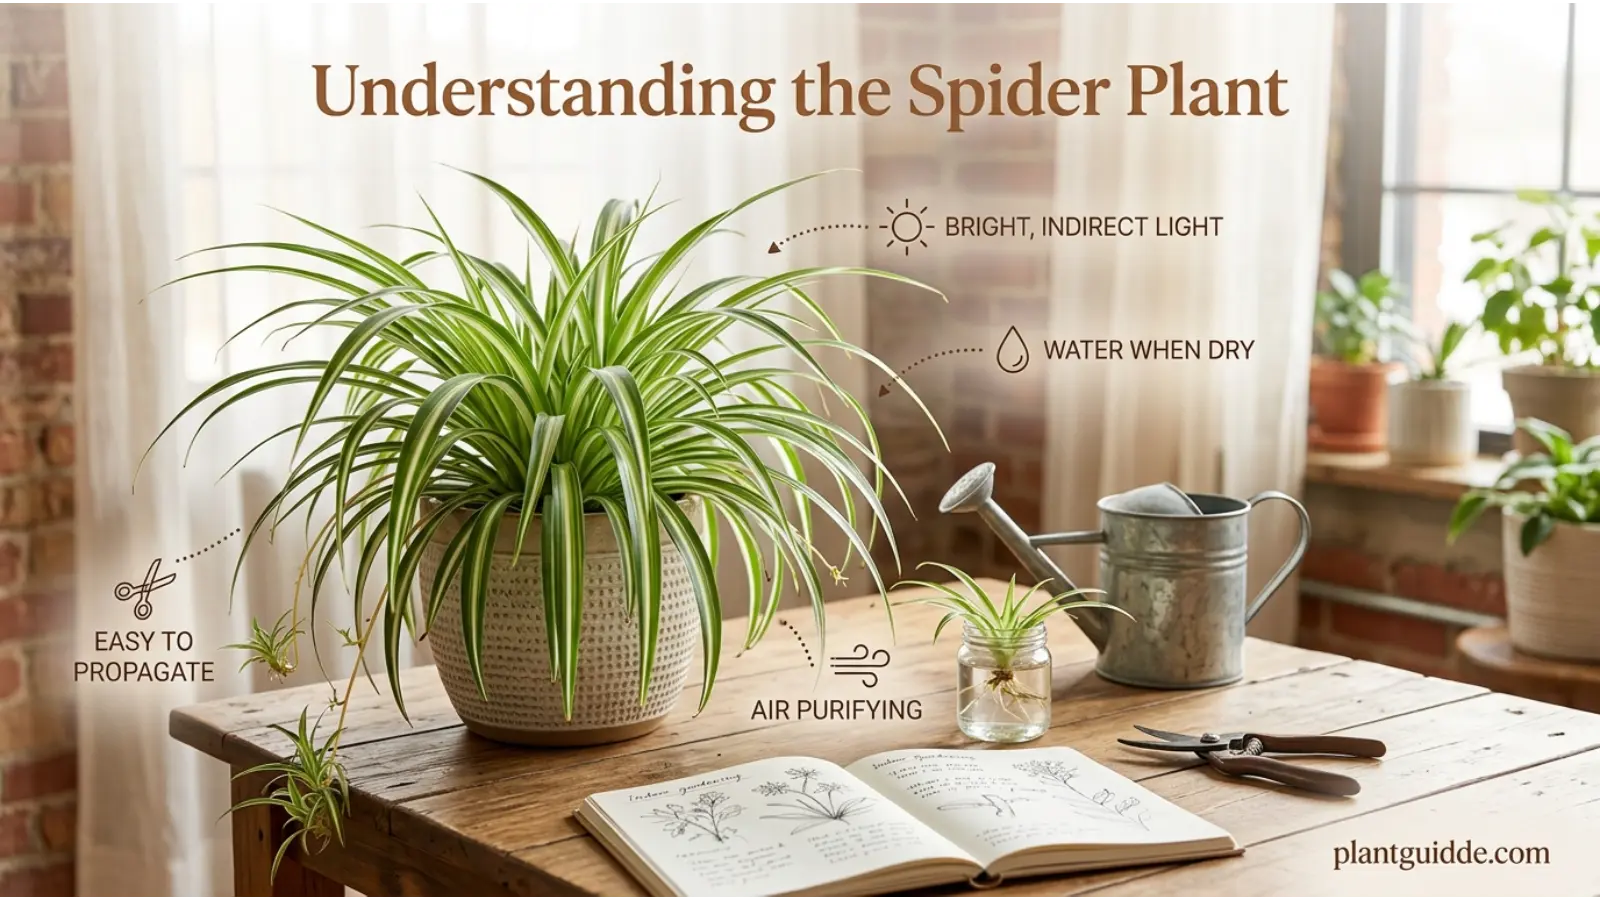
The spider plant (Chlorophytum comosum) is a perennial plant native to tropical and southern Africa. It belongs to the Asparagaceae family and grows as a clump of narrow, arching leaves that emerge from the plant’s base.
Mature plants can produce long flower stems carrying small white flowers. These stems may later develop baby plants, commonly called spiderettes, which can be rooted to create new plants.
Popular varieties include:
- Vittatum: Green leaves with a broad white stripe down the center.
- Variegatum: Green leaves with white or cream-colored margins.
- Bonnie: A curly-leaved variety with an attractive, compact appearance.
- Solid green spider plant: A less common form with uniformly green foliage.
Variegated varieties often benefit from brighter indirect light to maintain their leaf patterns. All varieties need adequate drainage and protection from prolonged waterlogged soil.
Best Conditions for Spider Plant Care
Spider plants are adaptable, but consistent growing conditions help them develop stronger leaves and healthy roots.
| Growing factor | Ideal conditions | What to avoid |
|---|---|---|
| Light | Bright, indirect light | Prolonged harsh sunlight or deep shade |
| Water | Water when the upper 1–2 inches of soil dry | Constantly wet soil |
| Soil | Loose, well-draining potting mix | Heavy, compacted soil |
| Temperature | Approximately 65–80°F (18–27°C) | Frost and cold drafts |
| Humidity | Average household humidity | Extremely dry air combined with other stress |
| Fertilizer | Light feeding during active growth | Excessive fertilizer |
| Pot | Container with drainage holes | Standing water around roots |
These recommendations are starting points rather than rigid rules. A plant in a warm, bright room may use water faster than one growing in a cool area with less light.
How Much Light Does a Spider Plant Need?
Light affects leaf color, growth, and the plant’s ability to produce flowers and spiderettes. Bright, indirect light is generally the most reliable choice for indoor spider plants.
Bright, indirect light
Place your spider plant near an east-facing window or a few feet from a bright south- or west-facing window. A sheer curtain can soften intense sunlight.
Suitable light encourages fuller foliage and helps variegated varieties retain their distinctive stripes.
Can spider plants grow in low light?
Spider plants can tolerate lower light levels, but growth may become slower and less vigorous. Variegated leaves may also lose some of their contrast.
Care of spider plant your plant sits in a dim corner and produces few new leaves, move it closer to a window or provide an appropriate grow light. Increase light gradually to avoid scorching foliage.
Signs of lighting problems
- Faded or scorched patches: The plant may be receiving excessive direct sunlight.
- Slow growth: Light may be insufficient, although root and nutrient problems can also contribute.
- Less distinct variegation: The plant may benefit from brighter indirect light.
- Dry-looking leaves: Check light exposure, watering, and humidity before deciding on the cause.
Rotate the pot occasionally so different sides receive similar light and the foliage grows more evenly.
How Often Should You Water a Spider Plant?
Watering correctly is essential for healthy spider plant roots. The plant appreciates moderate moisture during active growth but does not tolerate continuously saturated soil.
Rather than following a fixed weekly schedule, check the soil before watering.
Step-by-step watering method
- Check the topsoil. Insert your finger about 1–2 inches into the potting mix.
- Assess the moisture. If the upper layer is dry, check whether the deeper soil is still excessively wet.
- Water thoroughly. Apply water evenly over the soil until it drains from the bottom.
- Empty the saucer. Do not allow the container to sit in standing water.
- Check again later. Water when the soil has dried to the appropriate depth.
Spider plants in warm, bright conditions may need water more often than those growing in lower light. During winter, water use often decreases as growth slows.
How to recognize overwatering
Overwatering can lead to yellow leaves, soft roots, and root rot. If the soil remains wet for an extended period, check whether the pot has adequate drainage and whether the potting mix is too dense.
If the plant continues deteriorating, remove it from the pot and inspect the roots. Healthy roots are generally firm, while rotting roots may be dark, mushy, or unpleasant-smelling. Remove damaged sections with clean tools and repot the plant in fresh, well-draining soil.
How to recognize underwatering
An underwatered spider plant may have limp, curling, or dry leaves, and its soil will feel dry below the surface.
Water thoroughly if the root ball has dried out, then allow excess water to drain. If the leaves remain limp despite suitable watering, investigate root damage or other environmental stress.
Best Soil for Spider Plants
Spider plants grow well in a quality indoor potting mix that retains some moisture while allowing excess water to drain.
A practical mix consists of:
- Two parts general-purpose indoor potting mix
- One part perlite or pumice
This combination improves airflow around the roots while providing enough moisture for healthy growth. Adjust the mixture if it dries too quickly or remains wet for too long.
Avoid using garden soil alone in containers because it can compact and restrict drainage.
Why drainage matters
Poor drainage can damage roots even when you do not water particularly often. If a potting mix remains wet for several days, consider whether the container is too large, the soil is too dense, or the plant receives insufficient light.
Always choose a pot with drainage holes. Decorative containers without holes can serve as outer covers, provided you remove the inner pot for watering and allow it to drain fully.
Ideal Temperature and Humidity
Spider plants generally grow well in ordinary household temperatures, with approximately 65–80°F (18–27°C) suitable for many indoor environments.
Keep your plant away from frost, cold drafts, and sudden temperature changes. A windowsill may be suitable during warm weather but too cold during winter nights.
Average household humidity is usually adequate. Spider plants can tolerate relatively dry indoor air, although very dry conditions may contribute to brown leaf tips.
If the air is especially dry, move the plant away from heating vents or use a room humidifier. Regular misting is not essential and does not provide a lasting increase in room humidity.
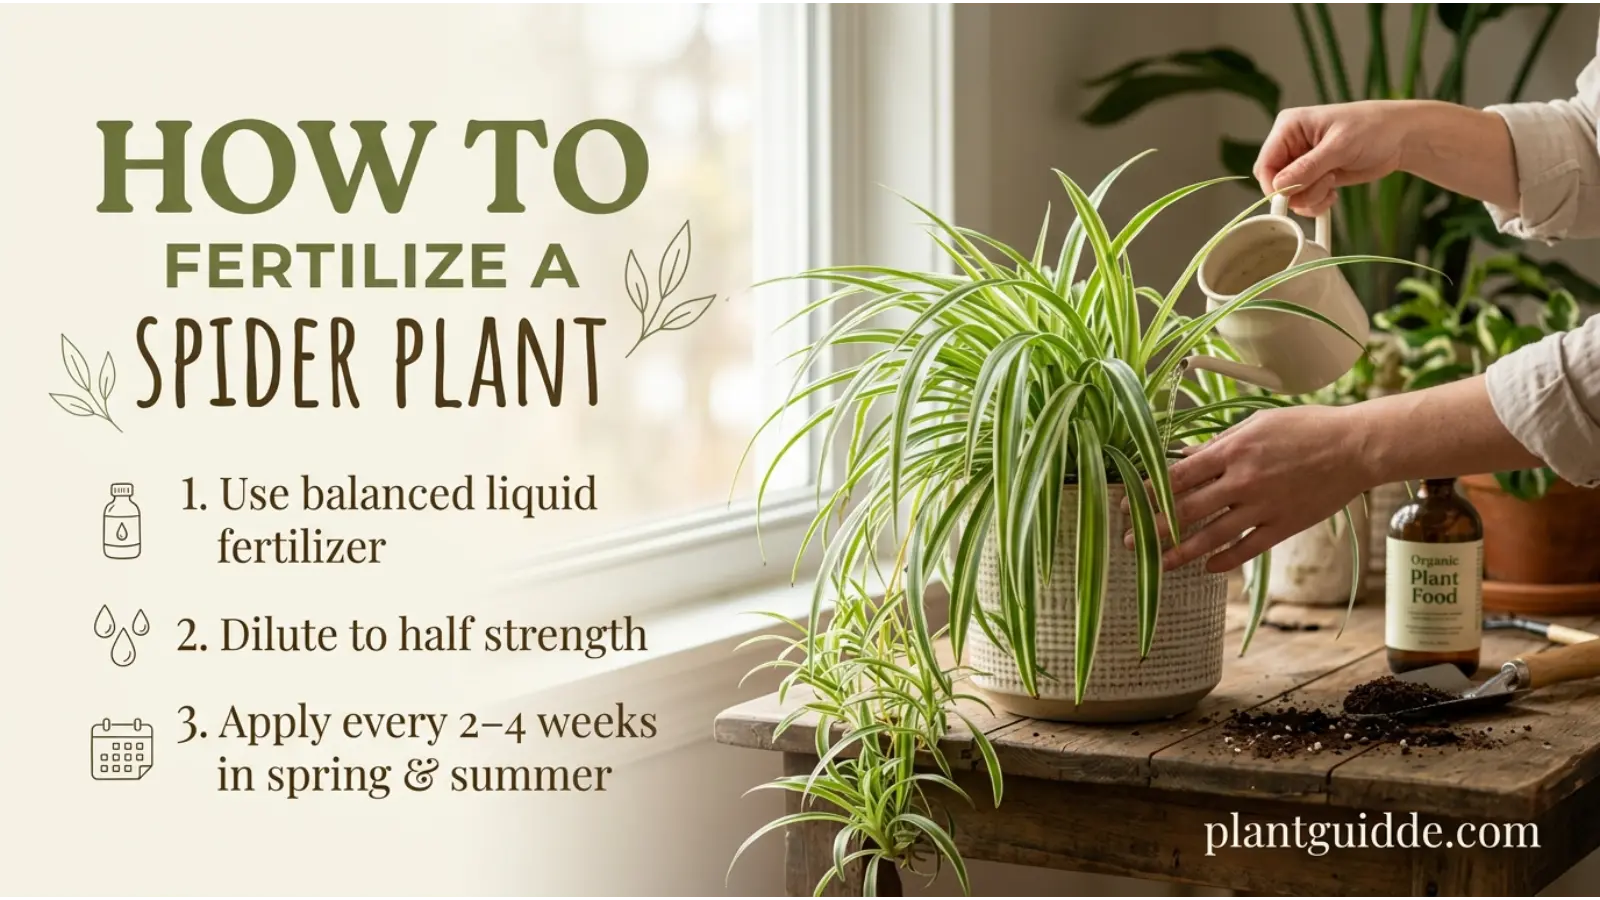
How to Fertilize a Spider Plant
Spider plants benefit from moderate feeding during active growth, but excessive fertilizer can cause salt accumulation and leaf-tip damage.
During spring and summer, apply a balanced liquid houseplant fertilizer according to its label. Feeding every four to eight weeks may be sufficient for many plants, depending on fertilizer strength and growing conditions.
Follow these guidelines:
- Dilute fertilizer as directed on the label.
- Avoid heavy feeding when the plant is stressed or has damaged roots.
- Reduce or stop fertilizing when growth slows during winter.
- Flush the potting mix occasionally if salts accumulate, provided the container drains freely.
If your plant develops brown tips after repeated fertilizing, pause feeding and review the growing conditions before adding more nutrients.
Why Does a Spider Plant Get Brown Tips?
Brown leaf tips are one of the most common spider plant complaints. They can result from several factors, so cutting off the damaged portion alone may not solve the problem.
Possible causes include:
- Mineral accumulation: Fluoride and other dissolved minerals in some water supplies can contribute to tip burn in sensitive plants.
- Excess fertilizer: Fertilizer salts can accumulate in the potting mix.
- Inconsistent watering: Repeated drying and excessive wetness can stress the roots.
- Very dry conditions: Low humidity or hot air from heating vents may contribute.
- Root problems: Damaged roots can interfere with water uptake.
How to prevent brown tips
Care of spider plant your tap water is high in minerals or fluoride, try rainwater or distilled water when practical. Flush the soil periodically to help remove accumulated salts, ensuring that water drains freely.
Avoid excessive fertilizer and maintain a consistent watering routine based on soil moisture.
You can trim brown tips with clean scissors, following the natural pointed shape of the leaf. Leave a thin brown margin rather than cutting into healthy green tissue.
How to Encourage Spider Plants to Produce Babies
Spider plants produce small plantlets, or spiderettes, on long stems. These plantlets can eventually become independent plants.
A mature spider plant is more likely to produce spiderettes when it receives adequate indirect light, suitable nutrition, and stable growing conditions. Plant maturity and variety also influence flowering and plantlet production.
To encourage healthy growth:
- Provide bright, indirect light.
- Water when the soil begins to dry at the appropriate depth.
- Feed lightly during active growth.
- Avoid severe root damage or prolonged environmental stress.
- Allow the plant to mature naturally.
A slightly snug pot may support flowering in some plants, but keeping a spider plant severely root-bound is unnecessary. If the roots become overcrowded or the plant dries unusually quickly, repot it.
How to Propagate a Spider Plant
Spider plants are easy to propagate using their baby plants. You can root spiderettes in water or plant them directly in soil.
Propagation in soil
- Choose a healthy spiderette with visible root nubs or small roots.
- Fill a small pot with moist, well-draining potting mix.
- Position the plantlet so its base touches the soil.
- Secure it gently with a bent paper clip or small plant pin if necessary.
- Keep the mix lightly moist while the roots establish.
- Once new growth appears, gradually return to normal watering.
If the spiderette is still attached to the mother plant, you can often place its base against the soil in a nearby pot and separate it after rooting.
Propagation in water
Place the base of a healthy spiderette in a small container of water, keeping the leaves above the waterline. Position it in bright, indirect light and refresh the water when it becomes cloudy.
Once a healthy root system develops, transfer the plantlet into potting mix. Keep the soil lightly moist while the roots adjust to growing outside water.
Avoid leaving the plantlet in water indefinitely if your goal is to grow it in soil, because its roots must adapt to the different growing medium.
When and How to Repot a Spider Plant
Spider plants grow from fleshy roots that can gradually fill a container. Repotting becomes useful when roots emerge from drainage holes, the pot becomes crowded, or the plant dries out unusually quickly.
Spring is often a convenient time to repot because active growth can help the plant establish itself.
Repotting steps
- Select a pot with drainage holes that is one size larger than the current container.
- Remove the plant gently and inspect the roots.
- Loosen tightly packed roots carefully without unnecessarily damaging them.
- Remove soft, rotting sections with clean tools.
- Place the plant at its previous soil depth in fresh potting mix.
- Water appropriately and allow excess moisture to drain.
Avoid placing a small plant in an oversized pot. Excess soil can remain wet for too long and increase the risk of root problems.
Common Spider Plant Problems and Solutions
Understanding symptoms helps you correct the underlying issue instead of treating only the visible damage.
| Symptom | Possible cause | What to do |
|---|---|---|
| Yellow leaves | Overwatering, root damage, or natural aging | Check soil moisture and drainage |
| Brown leaf tips | Mineral buildup, excess fertilizer, or dry conditions | Review water quality and feeding |
| Limp or curling leaves | Underwatering, root problems, or heat stress | Check the soil and inspect the roots if needed |
| Slow growth | Insufficient light, seasonal slowdown, or limited nutrients | Improve indirect light and review feeding |
| Pale leaves | Excessive light, nutrient problems, or root stress | Assess light exposure and root health |
| No spiderettes | Young plant, unsuitable light, or normal variation | Improve growing conditions and allow time |
| Soft roots | Persistent excess moisture | Remove damaged roots and repot if necessary |
| Small insects or webbing | Possible pest infestation | Inspect leaves and treat the identified pest |
How to deal with pests
Spider plants may occasionally attract spider mites, aphids, or mealybugs. Inspect the undersides of leaves, the plant’s base, and any new growth.
If you find pests:
- Isolate the affected plant from other houseplants.
- Remove small infestations using an appropriate gentle method.
- Use a houseplant-labeled insecticidal soap when necessary, following the label directions.
- Check nearby plants and repeat inspections as recommended by the treatment.
Test any spray on a small area first and avoid applying it in direct sunlight or under conditions prohibited by the product label.
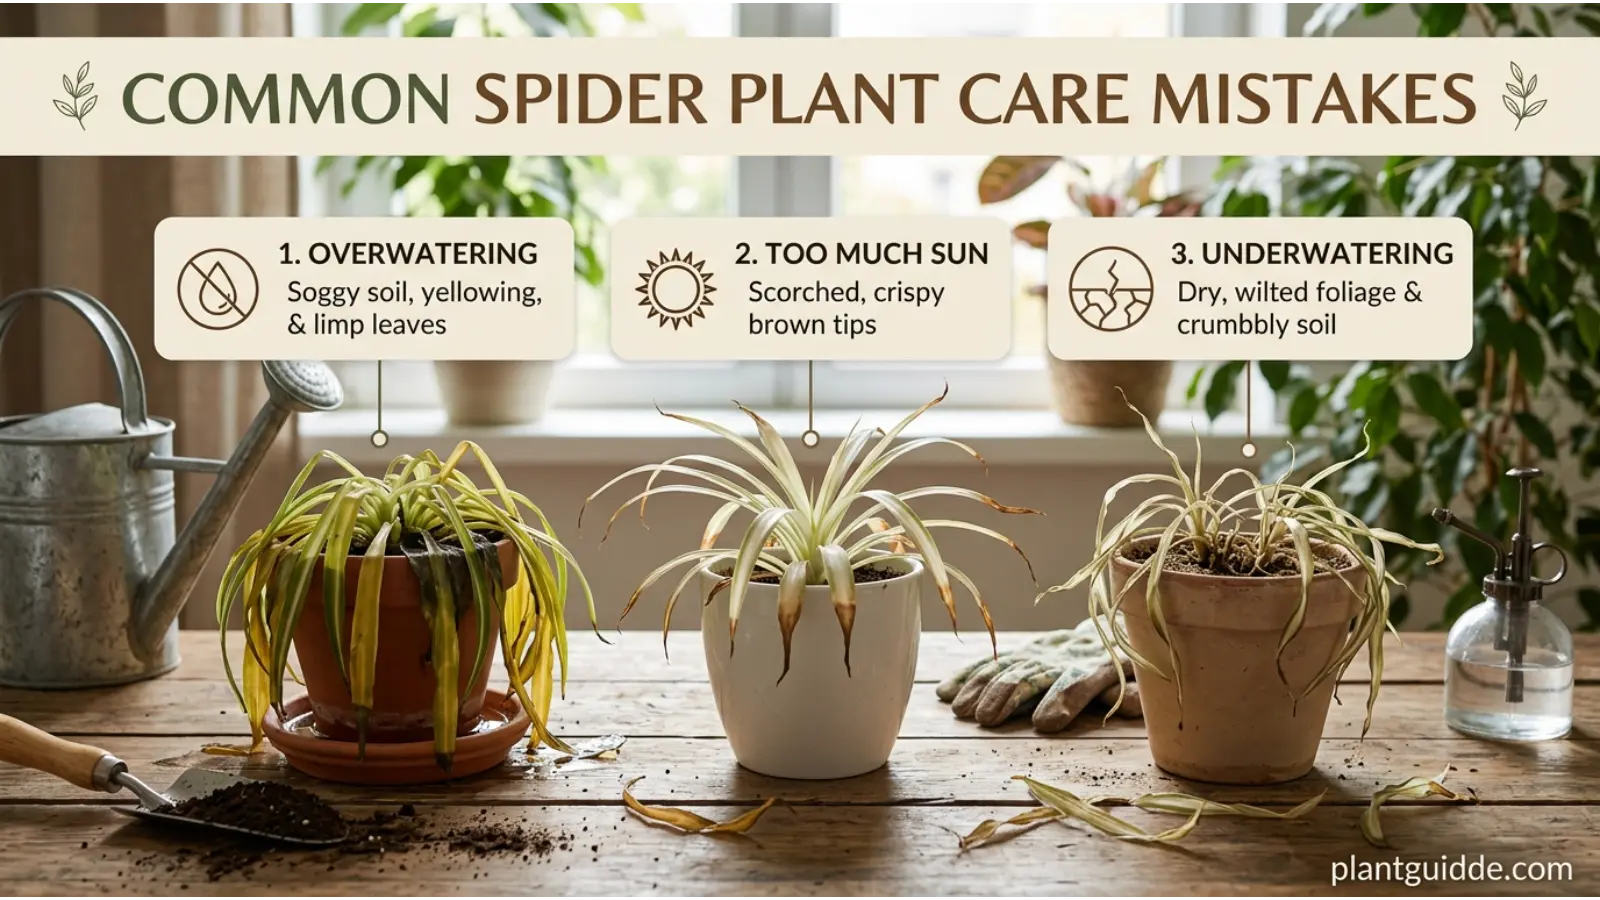
Common Spider Plant Care Mistakes
Even an adaptable plant can struggle when a few basic requirements are overlooked.
Watering too frequently: Spider plants need moisture, but constantly wet soil can suffocate roots. Check the soil rather than watering automatically.
Using a pot without drainage: Excess water can collect around the roots, creating conditions that encourage rot.
Ignoring water quality: Repeated exposure to mineral-rich or fluoride-containing water may contribute to brown leaf tips in sensitive plants.
Applying too much fertilizer: Excess nutrients can damage roots and cause leaf-tip burn.
Placing the plant in intense direct sunlight: Strong sunlight can scorch foliage that has adapted to indoor conditions.
Repotting too frequently: Spider plants do not need constant changes of container. Repot when root crowding or other clear signs justify it.
Cutting off healthy leaves unnecessarily: Remove damaged foliage, but preserve healthy green leaves that support photosynthesis.
A helpful habit is to observe how quickly your particular potting mix dries. This tells you more about watering needs than a universal schedule ever could.
Is the Spider Plant Safe for Pets?
Spider plants are generally considered non-toxic to cats and dogs, according to commonly referenced veterinary and poison-control plant listings. However, chewing the foliage can still cause mild stomach upset in some animals.
Cats may be particularly attracted to the long, grass-like leaves. Keep the plant in a suitable location if your pet chews houseplants regularly, and contact a veterinarian if your animal develops concerning symptoms after eating plant material.
FAQs:
How often should I water my spider plant?
Water when the top 1–2 inches of potting mix feel dry and the deeper soil is not excessively wet. The interval depends on light, temperature, pot size, and season. Water thoroughly, then allow excess water to drain.
Should spider plants receive direct sunlight?
Spider plants generally prefer bright, indirect light. Gentle morning sunlight may be suitable, but strong afternoon sun can scorch the leaves. If the plant has been growing in shade, introduce brighter conditions gradually.
Why is my spider plant not producing babies?
The plant may be too young, may not receive enough light, or may simply not be ready to produce spiderettes. Provide suitable indirect light, consistent moisture, and moderate feeding during active growth. Avoid forcing the plant to become severely root-bound.
How do I make my spider plant bushier?
Provide suitable light, remove damaged leaves, and maintain healthy roots. You can also root baby plants and grow them in the same container when there is enough room. This creates a fuller appearance without requiring excessive pruning.
Why are the leaves on my spider plant turning yellow?
Yellow leaves may indicate overwatering, poor drainage, root damage, or natural aging. Check the soil before watering again. If several leaves yellow while the mix stays wet, inspect the roots and improve drainage.
Conclusion
The best approach to the care of spider plant is to provide bright, indirect light, well-draining soil, and watering based on actual soil moisture. Moderate feeding, suitable temperatures, and occasional pruning help maintain attractive foliage and encourage healthy spiderettes.
Care of spider plant your plant develops brown tips or yellow leaves, examine its water quality, drainage, and light exposure before making major changes. Start by checking the soil today, then adjust your routine to how quickly it dries in your home. Small, consistent improvements are usually more effective than frequent watering or excessive fertilizer.

Asad Mumtaz is a dedicated plant enthusiast and gardening writer with a passion for helping people care for their plants successfully. He specializes in plant care guides, indoor gardening, and practical growing tips for all skill levels. His content focuses on making gardening simple, enjoyable, and rewarding. Through his work, Asad shares reliable advice to help readers create thriving green spaces.